Understanding Your Ice Machine Installation Kit
Know Your Essential Ice Machine Installation Extras
When it comes to getting your ice maker up and running, understanding the components of your installation kit is crucial. The right kit ensures your ice maker delivers optimal performance and long-lasting efficiency without hitches. As part of the installation process, investing in the right accessories is essential.
Your kit will typically include components such as hoses for water connection, a reverse osmosis, and fittings necessary for a seamless connection to your water supply. Be sure you have all parts accounted for before beginning the installation process. This step saves you from unnecessary trips to the hardware store or waiting for missing parts' delivery.
- Types of Kits: Kit options vary, often linked to the specific ice maker model you've chosen. Some kits come with refrigerators featuring built-in ice makers, while others are designed for standalone units.
- Installation Kits Features: Consider kits that include elements like free delivery or have excellent product ratings where customer stars and reviews can guide your decision.
- Budget-Friendly Options: From valid offers to promotional ends, pay attention to prices and exclusive deals that might help you save on this major appliance purchase.
- Maintenance and Compatibility: Not only should your kit fit seamlessly with your chosen ice maker, but it should also facilitate proper maintenance, like ensuring consistent access to clean drinking water.
Before starting your project, remember to check compatible products and ensure your accessories align with your demands and price product expectations. If your kit is well-matched with your ice maker, the installation becomes straightforward, paving the way for chilled perfection with every cycle.
Preparing for Installation
Preparing Your Space for Installation Success
Before diving into the installation process of your ice maker, it’s crucial to prepare your space properly to ensure a smooth and efficient setup. Skipping or rushing preparation can lead to unnecessary obstacles or even damage to the appliance.
- Choose the Right Spot: Determine a location near a water line and an electrical outlet. This decision not only eases the connection process but also supports the function of your ice machine.
- Measure It Out: Knowing the required space for your ice maker and its installation kit is essential. Consider the dimensions of your product and ensure there is ample space for air circulation and easy access during maintenance or repair tasks.
- Check Water Quality: Depending on your local water supply, investing in a reverse osmosis system or other water filtration products might be wise. This can improve the quality of the drinking water used by the ice machine and enhance its lifespan.
Remember, preparation is key in ensuring your ice machine operates efficiently and helps you avoid hitches that might arise during installation. For more details on ongoing maintenance or avoiding installation pitfalls, consider reviewing our essential maintenance tips.
Step-by-Step Installation Process
Starting the Installation Process
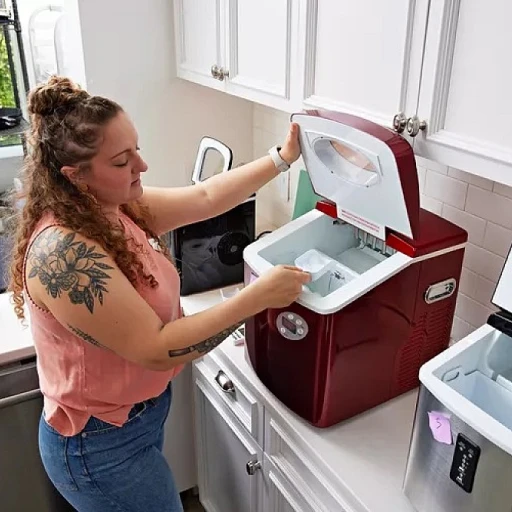
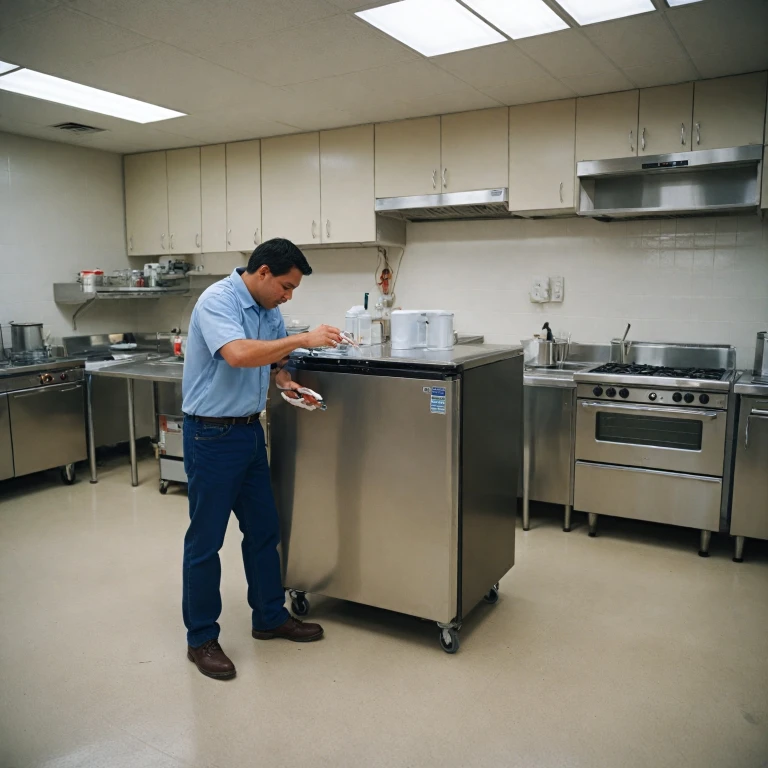
Once you have your installation kit ready, it's time to begin the installation process. This can seem daunting, but with some basic knowledge and careful attention to detail, you can have your icemaker up and running efficiently. Here are some key steps to follow:- Gather Your Tools and Accessories: It's important to ensure you have all necessary tools on hand. Typically, you'll need a wrench, screwdriver, and possibly some plumbing tools. Make sure your kit includes all required components for a smooth installation.
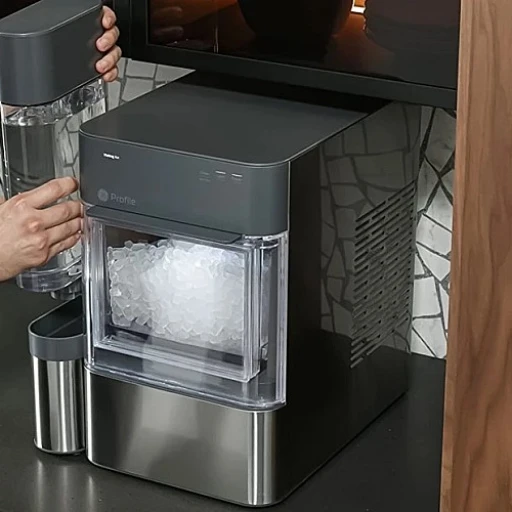
- Position Your Unit: Before you start connecting, position your icemaker and refrigerator correctly. Make sure it’s close enough to a power outlet and water source. This will save you from having to move the appliance post-installation.
- Connecting the Water Supply: Begin by connecting the water supply line from your icemaker kit to your home's plumbing. Ensuring a secure and watertight connection is crucial to avoid any leaks.
- Securing the Icemaker: Mount the icemaker in its designated spot within the refrigerator. Follow the instructions in your installation manual for securing it properly.
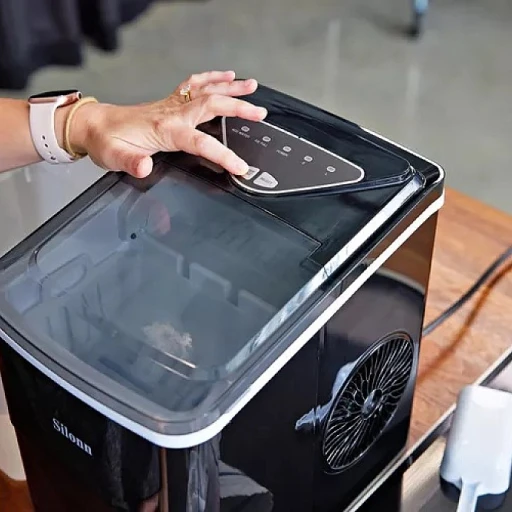
- Testing the Connection: Before refitting any panels or covers, check for leaks in the water connection. Turn on the water supply and let the system run for a few minutes to ensure it's working correctly.
- Powering Up: Once all connections are secure, plug in your icemaker. Run a test to see if it’s producing ice properly. This is the moment to make adjustments if needed.
Common Installation Challenges and Solutions
Overcoming Installation Hurdles
Installing an ice maker can come with its set of challenges, but understanding these common issues can help you navigate the process smoothly. Here are some typical installation obstacles and their solutions:
- Water Line Connections: Ensuring a secure connect to the water line is crucial. The installation kit typically includes the necessary accessories. However, if you encounter leaks, double-check that the connections are tight.
- Space Constraints: Some buyers face issues fitting the installation kit within a small space. Measure the area around your refrigerator ice compartment to ensure everything fits perfectly. If space is tight, consider rearranging items in your cart or pantry.
- Reverse Osmosis Systems: When using a reverse osmosis drinking water system, it might require additional accessories to maintain proper pressure. Verify if your ice maker unit is compatible with such systems, as it can affect the ice production and delivery rate.
- Valid Water Source: Confirm that the water source is clean, with free of debris or excessive minerals that can hinder the machine's operation. Using a valid water source can improve ice quality, contributing to your maker's efficiency.
By addressing these potential hurdles early on, you not only save time and effort but also ensure your ice maker functions at its best, free of any issues that might affect its delivery and reliability. For any complex concerns, consulting with the product’s manufacturer can provide tailored solutions.
Maintenance Tips for Optimal Performance
Keep Your Ice Maker in Top Shape
To ensure your ice maker continues to perform at its best, incorporating regular maintenance practices is essential. Following these guidelines will help save you from unforeseen breakdowns and prolong the life of your unit:
- Regular Cleaning: Just like any other major appliances, ice makers require routine cleaning to function efficiently. A kit typically contains specific cleaning solutions to sanitize the machine. Be sure to check the installation kit for any cleaning accessories that might be included.
- Filter Maintenance: If your unit uses a reverse osmosis system or any kind of drinking water filtration, regularly inspecting and replacing filters is crucial. This keeps impurities from building up in the machine, affecting ice quality.
- Water Quality: Ensure the water used in the ice maker is clean and soft. Hard water can cause mineral buildup over time, which can hinder the machine's efficiency. Consider investing in a free water testing kit if needed.
- Check the Ventilation: Ensure that there is adequate free space around the ice maker to allow for proper airflow, which prevents overheating. The product details or manual should specify the appropriate clearance requirements.
- Ice Maker Kit Components: Inspect the accessories included in the installation kit for wear and tear, such as hoses or connectors, as these may need replacing over time.
- Professional Servicing: Although regular maintenance can be done personally, scheduling a professional check-up annually helps identify potential issues early, saveing on costly repairs.
These steps not only enhance your ice maker's longevity but also ensure the quality of the ice is maintained. Consistent upkeep translates into better performance and ultimately a more satisfying overall experience.
FAQs About Ice Machine Installation
Frequently Asked Questions on Installation
Installing an ice maker can bring many questions for first-time users. Here, we address some common concerns that can arise during the process.
- What does the ice maker installation kit include?
The kit usually comes with all necessary connectors and tubes. It’s essential to check the product list before purchase to ensure everything is included. - Does unit price include free shipping?
Some suppliers offer free delivery on major appliances, but always confirm if it's included in the unit price by checking if the offer is valid excluding taxes and other charges. - Is it necessary to connect to a reverse osmosis system?
While not mandatory, connecting your ice maker to a reverse osmosis system can improve the taste of your drinking water. Ensure that the kit supports this configuration if preferred. - How to address common challenges during installation?
If troubleshooting becomes necessary, consider revisiting the preparation or step-by-step installation process. Additionally, check for any misalignments in the connections and ensure the water is turned on properly. - What is the importance of maintenance post-installation?
Consistent maintenance is key to optimal performance. Regular cleaning and checking for wear and tear on the accessories will aid in prolonging the life of your ice unit. - Are there any special offers for ice makers?
Occasionally, retailers might have sponsored promotions or discounts that are time-sensitive. Check for sales that might end during specific periods, such as the ends April offer. - How does the kit star rating affect my purchase decision?
Pay attention to the published rated kit stars as they reflect consumer experiences. A higher rating often indicates quality and reliability, assisting in making an informed choice.